R
Revision
Guest
Original poster
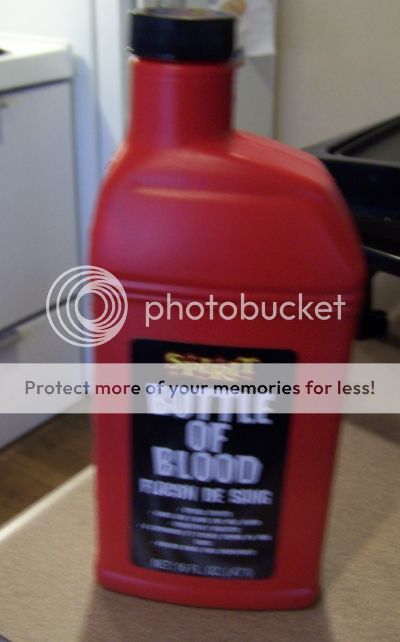
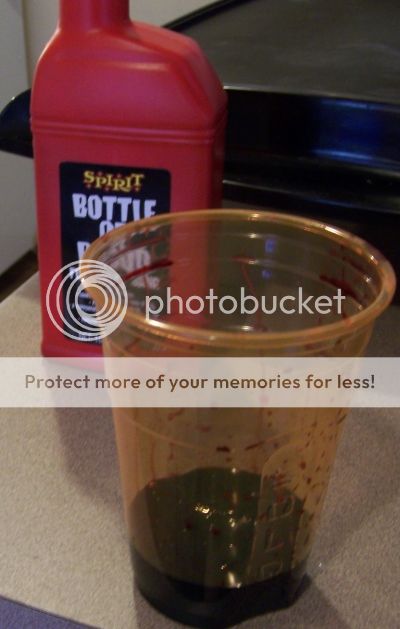
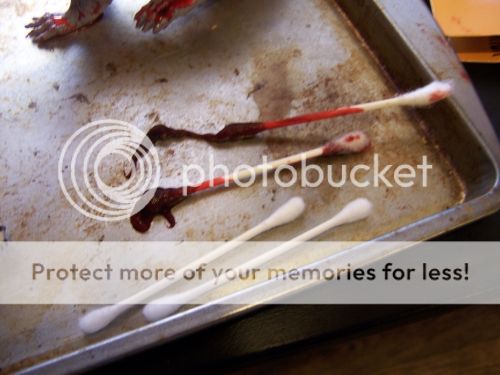
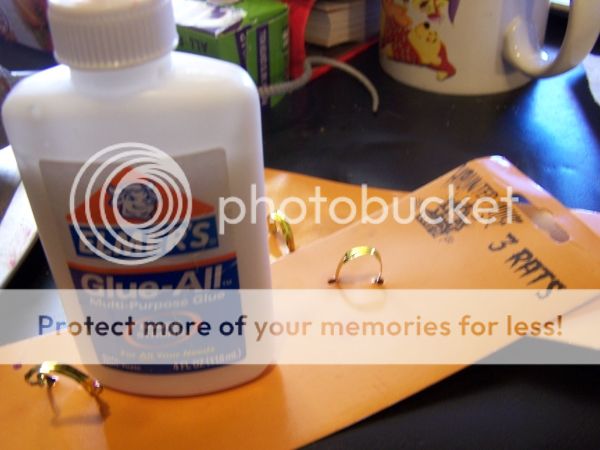
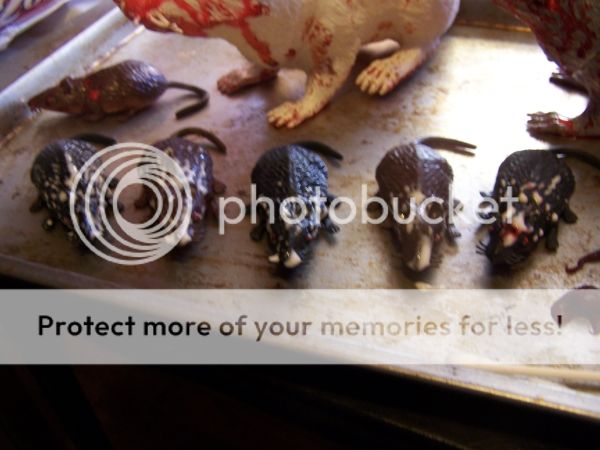
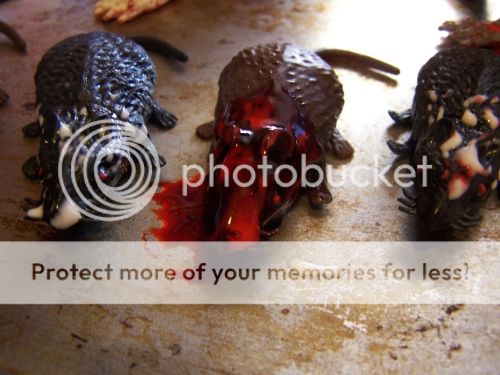
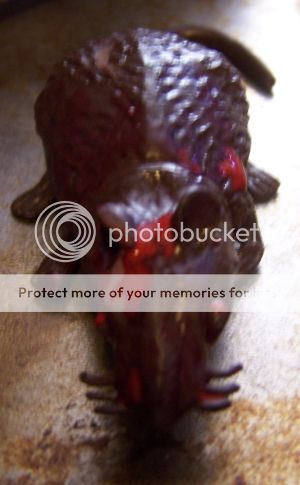
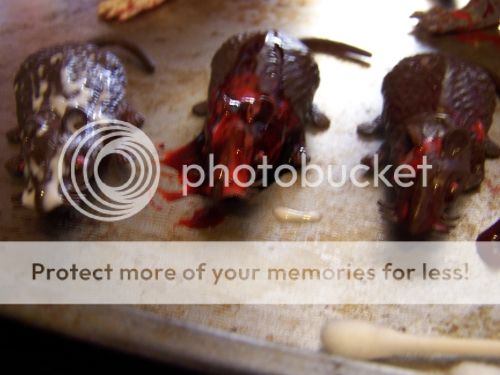
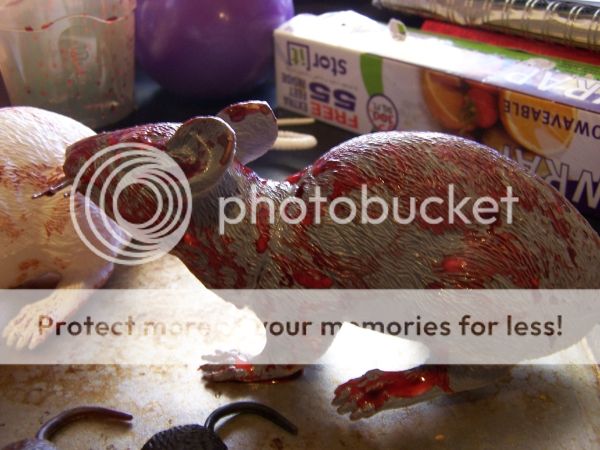
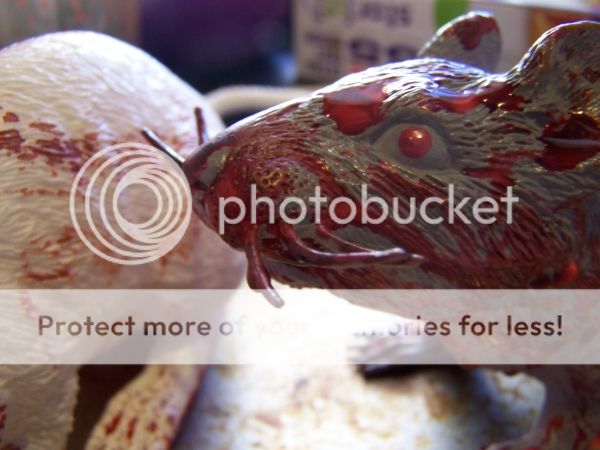
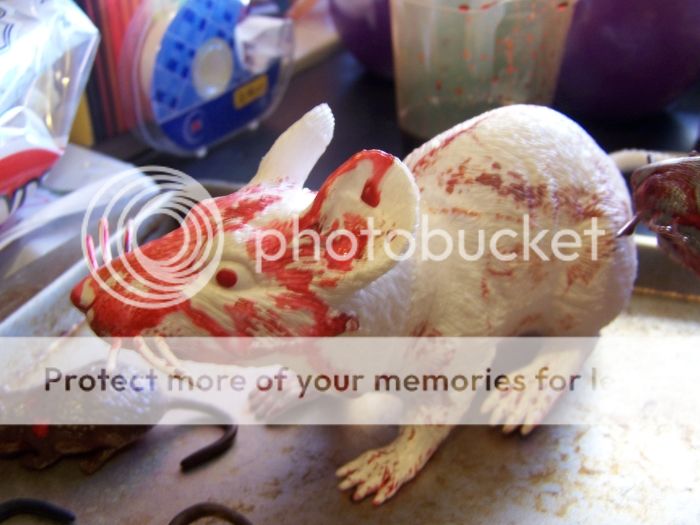
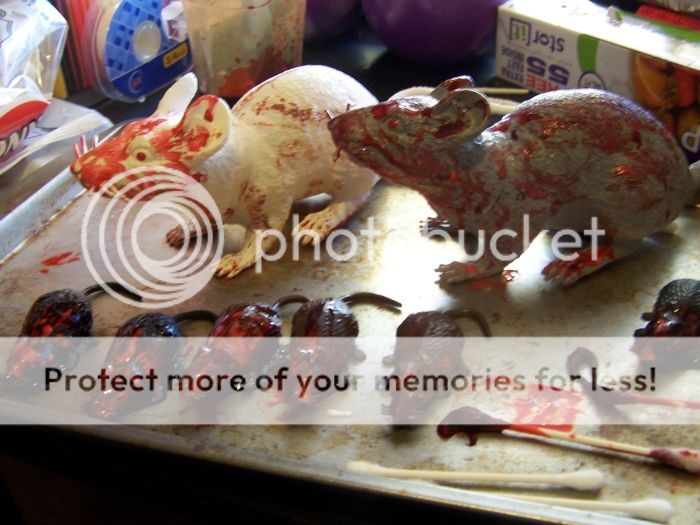
Well, we're getting close enough to Halloween that people should be getting the last minute stuff for their costumes. However, sometimes, figuring out just what touches to add and how to do them can be a bit of a pain. I love Halloween costumes. I know a lot of you either make your own costumes or cosplay. If you have some neat, low budget tips for adding those finishing touches or making a costume on short notice, or even make up tips, let's hear them! I'll have a bloody rat mini tutorial posted here later, but for now, bruises.
Sadly, I don't have pictures to offer. Bruises are an oft forgotten touch that makes any horror themed costume a bit more realistic. Even if you are going to cover the area with bloods and wounds, remember that there should be bruising near any major flesh trauma that was caused by anything blunt. This includes bites. I had a dog bite that bled when I was little and damn, that thing bruised.
The order for application should be as follows:
Wound application- This can be a wound kit or just dark or black makeup covered in a very viscous fake blood. This tends to come in jars and not run. Be careful when putting this near joints. It doesn't dry and thus will slowly spread if touched.
Bruise application- Whether or not there is a wound, you want to apply bruises in essentially the same way: dark to light. If it is a fresh bruise, start with a bit of blue and a lot of dark purple and fan out to red mixed with purple and then just red fading to your normal flesh color. If it is an OLD bruise, start with brown and green, add touches of green yellow, and finally just a fading yellow. You can apply bruises on the fake wound kit (test first to make sure it blends realistically) or around the bloody "wound", just keep it off of the bloody sections of either and remember, the lips of a wound where not covered in blood should be paler than the surrounding skin. So leave a tiny tiny rim of white or gray very lightly applied. Then start applying your bruise, blending each color into the next. Try to frame this loosely around the shape of the wound or imagined object of impact. A baseball impact might be round, a brick corner a more geometric shape, but softer as you go out.
Blood application- If the flesh wound and bruise are fresh, use a less viscous blood to paint, spray, or drip the blood on. Don't worry about covering the lower parts of the bruise. The shading, if not the color, will show through when the blood cracks. Also, be sure to do a bit of spatter up from any major wound, but don't go overboard.
Well, that's it for the bruise and wound tips from me. I'll add the bloody rat tips later. So what are your costuming tips? Pretty or bloody, rotting or angelic. Come on, give em up! And don't be afraid to ask for tips, too!