
- Posting Speed
- 1-3 posts per week
- Online Availability
- I have a shifting work schedule, so My online times will be random.
- Writing Levels
- Adept
- Advanced
- Prestige
- Adaptable
- Preferred Character Gender
- Male
- Female
- No Preferences
- Genres
- Fantasy, scifi, futuristic modern, fantasy modern, Action/adventure, Mystery, Fan-based,
As many of you know (and some don't) I do a lot of work with Photoshop.
Recently I decided to try to create some tutorials based of the most common requests I get.
[fieldbox="Basic Color Change Technique, gold, dashed, 10"]
There are a number of ways to change a color in Photoshop, and it is entirely possible that each professional you ask will tell you something different, but for this tutorial I will be sharing the unique I use the most frequently.
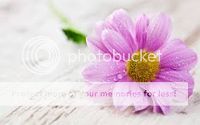
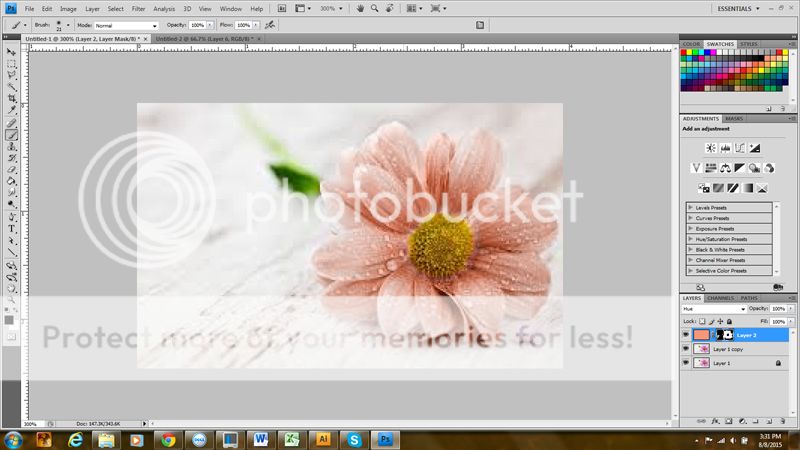
For the purpose of this tutorial I pulled a generic flower from a google image search.
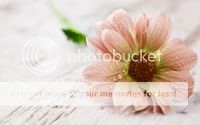
We will be changing picture A into picture B.
There you have it, a simple way to recolor your images.[/fieldbox]
Recently I decided to try to create some tutorials based of the most common requests I get.
[fieldbox="Basic Color Change Technique, gold, dashed, 10"]
There are a number of ways to change a color in Photoshop, and it is entirely possible that each professional you ask will tell you something different, but for this tutorial I will be sharing the unique I use the most frequently.
For the purpose of this tutorial I pulled a generic flower from a google image search.
We will be changing picture A into picture B.
| 
|
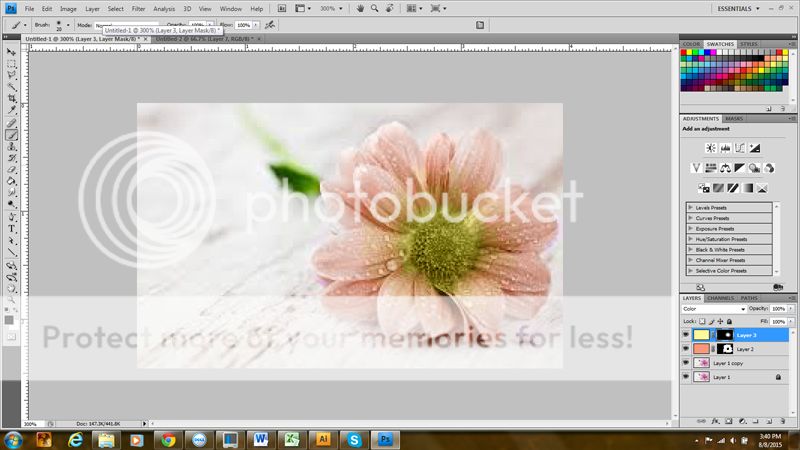
- Okay so the first thing I always do is create two layers with the base image. This way I can lock one and keep it hidden in case I do something I need to go back to the original image for some reason.

- Create a new layer and use the fill tool with the color of your choice for the petals. I chose a light peach.
- In the top left corner of your layers panel will be a drop down menu. This is the easy way to get to the blending mode selection. Choose hue from this menu.
Note: If you don't see that box you can double click on your layer to pull up your layer style panel, or get there from the layer / layer style / blending options from Photoshop'd main navigation pane.
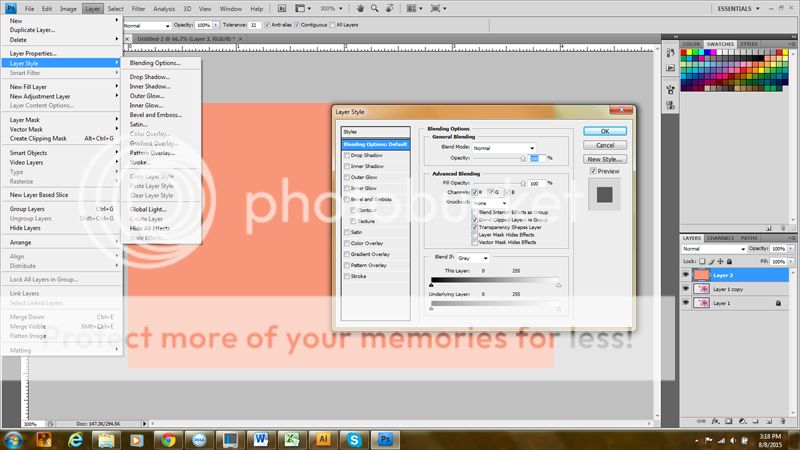

Note: you could also choose the color blending mode, but I find hue gives better contrast and tones in this case.
- Create a layer mast by either clicking the button at the bottom of your layers panel, or selecting it from your layer drop down.
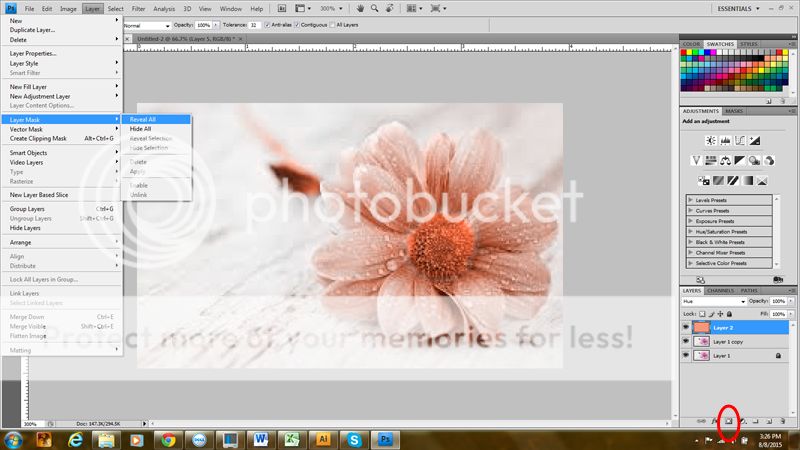
- Mask out the undesired area of your flower. In my case I wanted only the petals to be peach.
Note: Remember black is what will not be seen, White will show that part of the layer fully, and grey with show a level of transparency depending on the shade used.
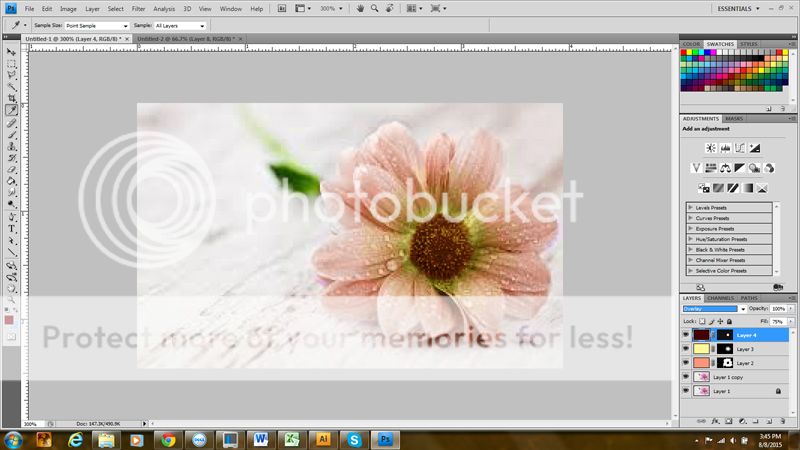
- I decided I wanted my flower's petals to have a touch of yellow at their base. Repeat the above steps until you achieve the coloring you like.
Note: for the yellow I masked with some mid-grey to even out the color transition to the peach.
- I wanted the center of my flower to be a dark maroon, however the hue blending mode made this much too light. Instead I followed the above steps, changed the blending mode to overlay, and dropped my fill to 75%.
There you have it, a simple way to recolor your images.[/fieldbox]